What Is the 3-2-1 Ribs Method?
The 3-2-1 method is the most widely taught and most reliably rewarding rib-smoking technique in backyard BBQ. The name is a simple shorthand for three sequential cooking phases, each measured in hours: 3 hours of open smoking to build bark and drive in smoke flavor, 2 hours wrapped tightly in foil with a liquid-and-fat mixture to tenderize the meat, and 1 hour unwrapped with BBQ sauce applied to caramelize a glaze. Six total hours at 225°F, one rack of perfect ribs.
The beauty of this method is that it solves the two greatest rib-smoking challenges simultaneously: smoke ring and bark development (Phase 1), and collagen-rich connective tissue breakdown without drying out the meat (Phase 2). The final unwrapped phase rehabilitates the bark that softened in the foil, adds a sweet-sticky sauced exterior, and gives you visual and tactile doneness cues that are easy to read even for a first-time smoker.
The technique rose to mainstream popularity in the early 2000s through competitive BBQ circuits and was further spread by the pellet grill revolution — partly because pellet grills like the Traeger Pro 575 made 225°F a genuinely set-and-forget temperature, and partly because the method’s structured timing made planning a backyard rib cook as predictable as a recipe.
Before we get into the step-by-step, let’s understand what’s happening at each phase at the molecular level — because understanding the why makes you a better cook, not just a recipe follower.
The Science Behind Each Phase
Phase 1 (Smoke): At 225°F, pork ribs are exposed to combustion gases from wood smoke. Myoglobin in the meat surface reacts with nitric oxide from the smoke to form the distinctive pink smoke ring. Meanwhile, the Maillard reaction begins forming the dark, flavorful bark from the surface proteins and rub sugars. Moisture evaporates from the surface, concentrating flavors. The low, consistent temperature allows fat to begin rendering slowly.
Phase 2 (Wrap): The foil traps steam and raises the effective temperature slightly around the meat. This creates a braising environment that rapidly converts collagen into gelatin — the process responsible for the tender, pull-from-the-bone texture that defines great ribs. The butter, brown sugar, and liquid you add to the foil infuse sweetness and richness into the meat and contribute to the bark’s eventual caramelization. This is also where the “stall” — the temperature plateau that affects larger cuts — is effectively bypassed.
Phase 3 (Sauce): Unwrapping exposes the softened bark to dry air again, allowing it to firm back up. Applied BBQ sauce contains sugars that caramelize and polymerize at smoking temperatures, creating a tack and gloss that’s distinct from wet sauce. The ribs finish their internal temperature climb here, and moisture redistribution between muscle fibers completes.
If you’re new to the world of smoking in general, our complete beginner’s smoker guide is an excellent foundation before diving into a method-specific cook like 3-2-1. For a broader comparison of what makes the low-and-slow approach to ribs different from every other cooking method, the grilling vs. smoking heat and flavor mechanics breakdown is worth ten minutes of your time.
Choosing the Right Ribs: Baby Backs vs. Spare Ribs vs. St. Louis
Not all ribs are equal, and the 3-2-1 timing was built specifically around spare ribs — the larger, fattier, meatier cuts that come from the lower portion of the pig’s rib cage. Here’s a breakdown of your options:
| Rib Type | Location | Size | Fat Content | Best 3-2-1 Timing | Price |
|---|---|---|---|---|---|
| Spare Ribs | Lower belly/side | Larger (3–4 lbs) | High | 3-2-1 (6 hrs) | $ Budget |
| St. Louis Cut | Spare ribs trimmed square | Medium-large | Medium-high | 3-2-1 (6 hrs) | $$ Mid |
| Baby Back Ribs | Upper loin | Smaller (1.5–2.5 lbs) | Low-medium | 2-2-1 (5 hrs) | $$$ Premium |
| Country Style | Pork shoulder end | Thick pieces | Very high | Different method | $ Budget |
Spare Ribs: The Classic Choice
Spare ribs come from the side of the pig, below the baby backs. They’re larger, have more surface fat, and crucially have more collagen — which, when converted to gelatin over the long cook, creates that melt-in-your-mouth tenderness. Spare ribs are the cut most often used in competition BBQ for exactly this reason. They’re also less expensive per pound than baby backs, which makes them the better value for a full rack cook.
St. Louis Style: The Competition Cut
St. Louis cut ribs are spare ribs with the brisket flap, cartilage tips, and uneven ends trimmed away, leaving a neat rectangular rack. This uniform shape means more even cooking, better smoke penetration on all sides, and a presentation that looks like you know what you’re doing. Most competition BBQ teams use St. Louis cut for exactly these reasons. If you can find them in your local store, they’re worth the slight premium over untrimmed spare ribs.
Baby Back Ribs: More Common, More Forgiving
Baby backs are smaller, leaner, and quicker to cook — but the standard 3-2-1 timing is too long for them and will produce overcooked, mushy results. Reduce the wrap phase to 1.5 hours or use a 2-2-1 method entirely. Our dedicated baby back ribs recipe walks through the adjusted timing in detail. Baby backs cost more per pound than spare ribs but are widely available and extremely popular for a reason — they’re more consistently lean and presentable for serving.
Equipment You Need for 3-2-1 Ribs
Great ribs don’t require a $2,000 smoker. But the right basic setup does make a meaningful difference in both the quality of the result and the ease of the cook. Here’s everything you need:
The Smoker or Grill
Any heat source that can hold 225°F with indirect heat and some smoke will work. Here’s how different platforms compare for 3-2-1:
| Platform | Temp Control | Smoke Quality | Ease of Use | Best For |
|---|---|---|---|---|
| Pellet Grill | ★★★★★ | ★★★☆☆ | ★★★★★ | Set-and-forget beginners |
| Offset Smoker | ★★★☆☆ | ★★★★★ | ★★☆☆☆ | Traditional flavor seekers |
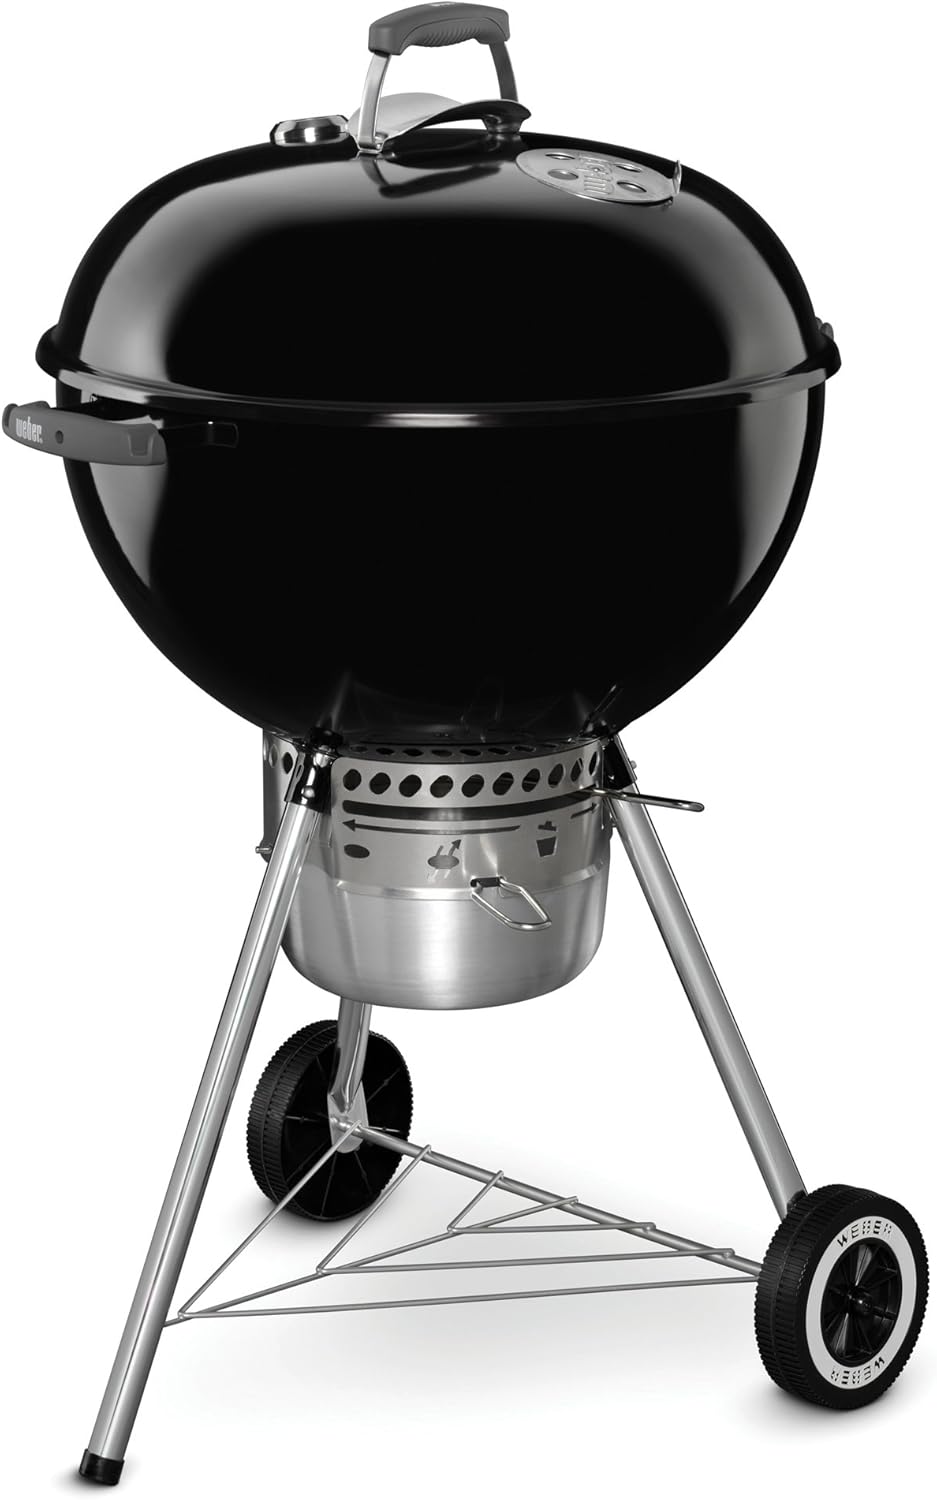
| Kettle Grill (charcoal) | ★★★☆☆ | ★★★★☆ | ★★★☆☆ | Budget-conscious cooks |
| Electric Smoker | ★★★★☆ | ★★★☆☆ | ★★★★☆ | Apartment-friendly option |
| Kamado Grill | ★★★★☆ | ★★★★★ | ★★★☆☆ | Serious smoke enthusiasts |
| Gas Grill (indirect) | ★★★★☆ | ★★☆☆☆ | ★★★★☆ | When that’s all you have |
For this guide, we’ll assume a pellet grill or offset smoker as the primary setup. If you’re choosing a new smoker specifically for ribs and long cooks, our smoker selection guide for ribs and brisket helps you match platform to cooking style. The offset smoker vs. pellet smoker comparison is particularly useful if you’re torn between the traditional and modern approach.
Essential Tools
- Heavy-duty aluminum foil: Standard foil tears too easily when wrapping full racks. Use heavy-duty or double-layer standard foil.
- Instant-read thermometer or probe thermometer: Ribs are done by texture (probe slide and bend test), but an ambient probe helps you verify your smoker temperature. A dual-channel unit lets you monitor grill temp and internal rib temp simultaneously.
- Spray bottle: For the apple juice spritz during Phase 1. A clean spray bottle from a dollar store works perfectly.
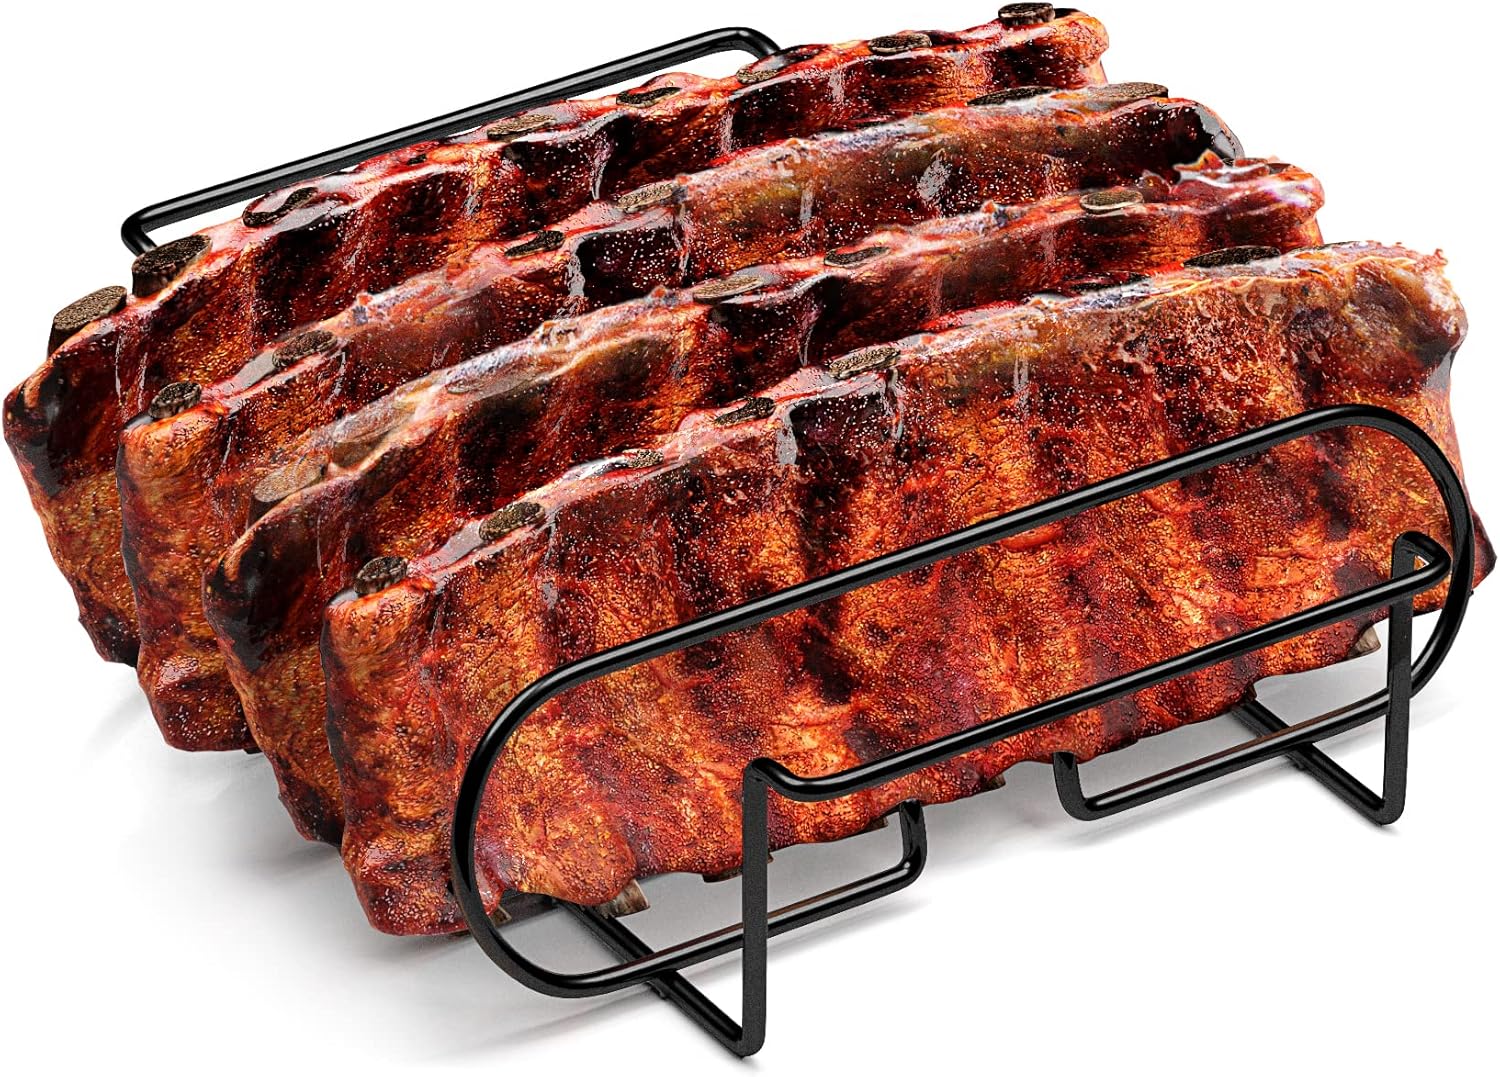
- Rib rack (optional): Allows you to cook multiple racks standing vertically, which significantly expands your cooking capacity. Essential for cooking more than two racks simultaneously.
- Sharp boning or slicing knife: For trimming and slicing the finished rack cleanly between bones.
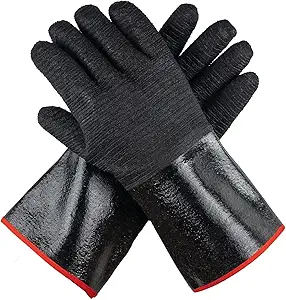
- Nitrile gloves or silicone gloves: For handling hot foil packs and applying sauce.
- Cutting board with juice groove: Ribs render a lot of fat; you’ll want containment.
For a comprehensive overview of what tools make smoked meat better, our best barbecue tools guide is regularly updated with the exact kit our review team uses. If you’re building out a complete setup from scratch, must-have BBQ accessories covers everything from thermometers to rib racks to wood chip boxes.

Get Your Rib Setup Right
Heavy-duty foil, rib racks, probe thermometers & more — everything for a perfect 3-2-1 cook.
Shop Rib Accessories on Amazon →Prep & Season the Ribs
Everything you do before the ribs hit the smoker determines the ceiling of what they can become. Proper prep separates a rack of great ribs from a rack of just-okay ribs. Give this stage the twenty minutes it deserves.
Remove the Membrane (Silver Skin)
The thin, papery membrane on the bone side of the rack (called the periosteum or silver skin) is the single most important thing to remove before cooking. It acts as a moisture and smoke barrier, prevents seasoning from adhering to the back of the rack, and turns into a tough, inedible layer of rubber after six hours in a smoker. Here’s how to remove it cleanly in about 60 seconds:
- Place the rack bone-side up on a cutting board.
- Find a bone near the center of the rack and slide a butter knife or small spoon under the membrane to loosen a flap.
- Grab the loosened flap with a paper towel (the texture gives grip that bare fingers won’t).
- Pull steadily in one direction — it usually peels off in one long sheet if you pull at a low angle.
- If it tears, repeat from a new starting point.
Slide a knife under the membrane near a center bone, grab with a paper towel, and peel in a single steady motion.
Trim Excess Fat
Contrary to popular belief, fat on ribs doesn’t all “melt in” during cooking. Thick exterior fat deposits can create a greasy surface that prevents bark from forming and produces an unpleasant texture. Trim any fat pockets thicker than 1/4 inch, but leave thin fat layers intact — they do baste the meat during the cook and contribute to flavor.
Apply the Binder
A thin coat of yellow mustard applied to all surfaces of the rack before adding rub serves as a binder — it helps the dry rub adhere evenly rather than falling off into the smoker. Mustard flavor completely disappears during the cook; all it leaves behind is a perfectly even rub coating. Other binder options include hot sauce, olive oil, or plain water if you’re anti-mustard, but yellow mustard remains our recommendation.
Apply the Dry Rub
Apply rub generously to all surfaces: bone side, meat side, and both edges. For a 3–4 lb rack, use approximately 3–4 tablespoons of rub total. Press rather than rub — pressing forces the seasoning into the meat rather than redistributing it. The rub should coat every visible surface evenly with no bare patches.
Leave seasoned ribs at room temperature for 30–45 minutes before smoking, or wrap them in plastic and refrigerate overnight. Longer rest time allows salt in the rub to penetrate deeper into the meat via osmosis, seasoning from the inside out. Our best barbecue rubs guide covers both commercial and homemade options, and our homemade BBQ rub recipe gives you a tested base to start from.
Apply mustard binder first (left), then press dry rub into all surfaces — meat side, bone side, and edges (right).
Phase 1: The Smoke — 3 Hours at 225°F
Phase 1 is where smoke flavor, bark formation, and the smoke ring all develop. This is the most important phase for flavor, and it’s also the most hands-off. Once you’ve got your smoker dialed in at 225°F and your ribs are on the grate, your primary job is to leave them alone.
Getting Your Smoker Ready
Preheat your smoker to 225°F with the lid closed for at least 15–20 minutes before adding meat. Starting ribs on a cold or warming smoker interrupts the initial bark formation and can affect the smoke ring. On a pellet grill, set to 225°F and wait for the temperature to fully stabilize. On an offset or charcoal unit, establish your fire, let it settle to temperature, and ensure your wood is producing clean thin blue smoke rather than thick white billowing smoke — thick white smoke contains bitter creosote and will produce off-flavors in the meat. For help understanding why a smoker might not reach temperature, our guide to grill heating and airflow factors is a useful diagnostic reference.
Placing the Ribs
Place ribs bone-side down on the grate. Bone-side down positions the more delicate meat side away from the direct heat below and protects it with the bone structure. The meat side should face up to receive smoke directly. If you’re using a rib rack to cook multiple slabs vertically, try to orient all racks in the same direction for even smoke flow.
Avoid placing ribs directly over the heat source. On an offset smoker, this means keeping ribs on the cooking chamber side away from the firebox. On a pellet grill, the heat diffuser underneath the grate handles this automatically.
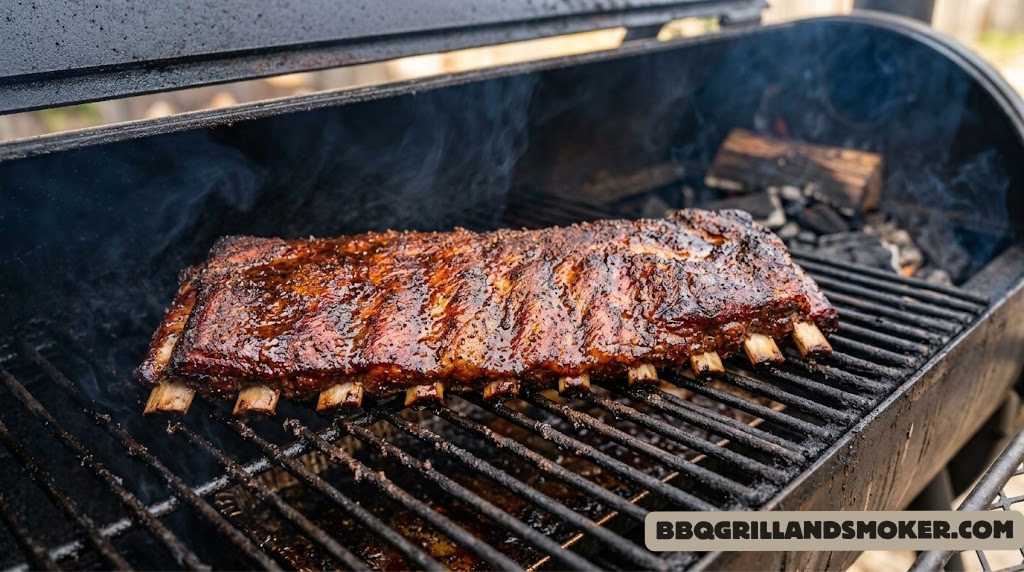
Phase 1: Ribs bone-side down, meat side up at 225°F for 3 full hours. Smoke flows over and through the grate freely.
The Spritzing Protocol
Starting at the 45-minute mark, spritz the top surface of the ribs lightly with your spritz liquid every 45 minutes. A quick 3–4 passes of the spray bottle is all you need — you want mist, not a shower. Excessive spritzing drops the surface temperature, strips bark, and adds unnecessary lid-open time (which bleeds temperature from the smoker).
Best spritz liquid options:
- Apple juice — sweet, mild, the classic choice for pork ribs
- Apple cider vinegar — adds tang, promotes bark development through acidity
- 50/50 apple juice + ACV — the compromise that most competition teams use
- Straight water — works fine if you want zero flavor influence from the spritz
What to Look For at the 3-Hour Mark
After three hours, your ribs should show these visual and tactile cues that Phase 1 is complete:
- Dark mahogany bark: The surface should have turned from your rub’s initial color to a deep reddish-brown or chocolate brown. If it’s still pale, give it another 30 minutes.
- Bone pullback beginning: The meat should have visibly started to pull back from the bone ends — 1/8 to 1/4 inch is typical at this stage.
- Dry but not burned surface: The surface should feel dry and firm to a gentle prod. If you see any blackening or charring, your temp was too high.
- Smoke ring established: If you’ve been running clean thin blue smoke, a pink smoke ring up to 1/2 inch deep should be forming under the bark layer. Our guide to smoke ring formation and meat color changes explains what this looks like and what drives it.

Traeger Pro 575 — Perfect for 3-2-1 Ribs
Set 225°F and walk away. WiFIRE app monitors your cook from anywhere.
View on Amazon →Phase 2: The Wrap — 2 Hours in Foil
The wrap phase is the engine of the 3-2-1 method’s tenderness. It’s where collagen-rich connective tissue rapidly converts to gelatin, where the “fall off the bone” quality develops, and where additional layers of flavor are introduced through the liquid and fat mixture inside the foil. Get this phase right and the final result is almost guaranteed.
The Wrap Mixture
For each rack of ribs, prepare the following ingredients before you pull the ribs from the smoker:
Classic Wrap Mixture (per rack)
- 3 tbsp unsalted butter (cold pats)
- 3 tbsp brown sugar (packed)
- 2 tbsp honey or agave
- 3 tbsp apple juice or ACV
- 1 tsp hot sauce (optional)
- 1/2 tsp your dry rub
Variations exist — some pitmasters use a splash of bourbon, others substitute maple syrup for honey, and some competition teams add a few pats of cream cheese for richness. But the butter-brown sugar-liquid core is the universal foundation. The fat in the butter keeps the meat basted, the sugar adds sweetness that will later caramelize, and the liquid creates steam that drives the braising action.
How to Wrap Properly
Proper wrapping technique matters. A loose or leaking foil wrap lets steam escape, defeats the braising purpose, and can cause the liquid to drip onto your smoker’s heat diffuser (causing flare-ups or temperature spikes). Here’s the technique:
- Tear off two sheets of heavy-duty foil about twice the length of your rib rack.
- Lay the sheets overlapping in a cross or side-by-side lengthwise for a double layer.
- Place the wrap mixture in the center of the foil in a flat strip the length of the rack.
- Place the rack meat-side down on top of the wrap mixture. (Meat down means the meat braises directly in the sweet liquid — this is important.)
- Add an additional sprinkle of brown sugar and a few more butter pats on the exposed bone side.
- Fold the long sides of the foil up and over the rack, then roll the ends to create a tight seal. No gaps.
Place ribs meat-side down on the wrap mixture on foil. Fold and seal all edges tightly. Steam does the tenderizing work — a loose wrap wastes it.
Back on the Smoker: The Braise
Return wrapped ribs to the smoker at 225°F, meat-side down. The foil creates a small pressure-steamer environment. Over two hours, the internal temperature of the ribs will climb through the stall (typically 160–175°F) and continue rising. The steam generated from the liquid mixture keeps the meat from drying out while the collagen rapidly breaks down.
During Phase 2, you don’t open the smoker at all. No peeking, no spritzing. The foil is doing its job; your job is to leave it alone and trust the process.
Checking Phase 2 Doneness
At the two-hour mark, carefully remove one foil pack and check for these cues:
- The rack should feel noticeably more flexible than it did going into the foil.
- Poke a probe or toothpick between two bones — it should meet only slight resistance.
- You should see significant bone pullback — 1/4 to 1/2 inch exposed on bone tips.
- The liquid inside the foil should have rendered significantly and will be dark and syrupy.
Phase 3: The Sauce — 1 Hour to the Finish
The final hour of a 3-2-1 cook is where visual transformation happens. The softened, steamed rack goes back on the smoker bare — no foil, meat-side up — with a coating of BBQ sauce that will caramelize, tighten, and develop from a wet liquid into a tacky, glazed, lacquered surface that’s the signature look of competition-style ribs.
Applying the Sauce
Remove the ribs from foil carefully — they’re delicate at this stage and will tear if handled roughly. Discard the liquid from the foil (or reserve it for a finishing mop sauce). Place ribs meat-side up on the grate. Apply your BBQ sauce in a thin, even layer using a silicone basting brush or back of a spoon. Don’t cake it on — you want a thin glaze coat, not a thick smear. Heavy sauce application delays evaporation and keeps the surface wet rather than glazed.
Choosing the right sauce matters here. A sauce high in sugar (like most commercial sauces) will caramelize quickly at 225°F. A thinner, vinegar-forward sauce (like Carolina-style) will tighten and concentrate. For guidance on which sauce style suits your ribs best, our best BBQ sauces guide covers regional styles and our recommendations.
Phase 3: Back on the grate, meat-side up, with a thin BBQ sauce coat. 1 hour at 225°F allows the glaze to caramelize and set.
The Glaze Development Timeline
Within the first 20 minutes, the sauce will lose its wet shine and start to dull slightly — this is the moisture evaporating out. At around 30–40 minutes, the surface will darken and develop a visible tack. By the 45-minute mark, the glaze should be nearly set. At the one-hour mark, you should have a deeply mahogany, slightly tacky surface that has a subtle gloss to it.
If the glaze is setting too quickly and starting to char, your temp has crept up — check and reduce to 225°F. If it’s not setting at all and still looks wet at 45 minutes, bump to 250°F for the final 15 minutes.
A second thin sauce application at the 30-minute mark of Phase 3 builds a deeper, more complex glaze and is recommended if you enjoy a saucier, stickier final rib. Apply it sparingly and let it set for the remaining 30 minutes.
Resting, Slicing, and Serving
After six hours and three phases, the most common mistake is rushing to slice and serve immediately. Those extra 10–15 minutes of resting time matter.
The Rest
When ribs come off the smoker, their internal fibers are contracted and stressed from prolonged heat. Resting under a loose foil tent allows the muscle fibers to relax and reabsorb moisture that has been pushed to the center of the meat during cooking. The result is juicier, more uniformly tender ribs that slice more cleanly. 10–15 minutes on a cutting board tented with foil is the minimum. 20–25 minutes is optimal if you can wait.
The bend test: lift one end with tongs. Done ribs droop 45° or more and show slight cracks in the bark surface. Stiff = more time needed.
Slicing
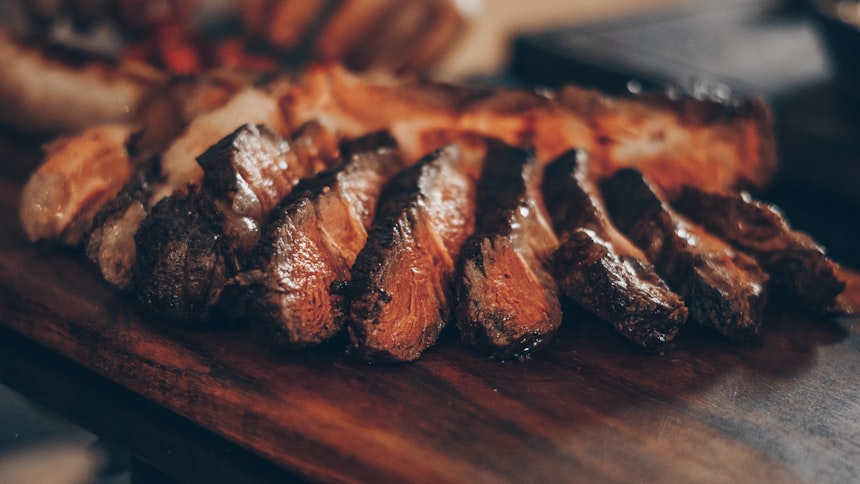
Use a sharp knife (a boning knife or slicing knife with a long, thin blade works best) to cut between each bone. The key is to cut in a single, confident stroke rather than sawing back and forth — sawing shreds the meat fibers and creates a messy presentation. Locate the bone with your finger, position the blade in the gap between bones, and press down with one clean motion.
How to Tell When 3-2-1 Ribs Are Done (The Full Checklist)
- Bend test: rack droops 45°+ when one end is lifted with tongs
- Surface shows slight cracks in the bark during the bend test
- Bone tips have 1/4–1/2 inch of clean bone exposed (meat has pulled back)
- Probe or toothpick slides between bones with zero resistance (like warm butter)
- Meat does not fall off the bone when you pick up the rack (that’s overcooked — aim for bite-through that still holds structure)
For more on the science and technique of keeping smoked meats perfectly moist through long cooks, our article on keeping smoked meat moist with temperature and moisture control covers the mechanics in practical detail.
Wood Selection: Choosing the Right Smoke for Pork Ribs
Wood species is one of the most consequential flavor decisions in a rib cook, and it’s one that’s frequently underestimated. The same rack of ribs smoked with apple wood versus hickory will taste noticeably different — not dramatically different, but enough that regular rib cooks develop distinct preferences.
| Wood | Flavor Profile | Smoke Intensity | Best For | Avoid If |
|---|---|---|---|---|
| Apple | Sweet, mild, fruity | Light | Baby backs, all pork | You want bold smoke |
| Cherry | Sweet, slightly tart, dark color | Light-medium | All ribs, beautiful color | Rarely — very versatile |
| Hickory | Bold, bacon-like, classic BBQ | Strong | Spare ribs, bold flavor | You want subtle smoke |
| Pecan | Nutty, rich, medium-sweet | Medium | All ribs — the balanced choice | Never — very forgiving |
| Mesquite | Earthy, bold, slightly bitter | Very Strong | Short smokes only | Full 6-hour cooks |
| Oak | Clean, robust, classic | Medium-strong | Spare ribs, longer cooks | You want fruity notes |
For the classic backyard 3-2-1 rib cook, our top recommendation is either a 50/50 cherry/hickory blend (deep color + bold flavor) or pure apple wood for a sweeter, crowd-pleasing result. Mesquite should be avoided for the full 3-2-1 duration — its aggressive phenol compounds accumulate and turn bitter over long exposures. For a more thorough comparison of two of the most debated wood choices in BBQ, our hickory vs. mesquite breakdown is comprehensive. And for understanding whether wood chips or chunks are more appropriate for your setup, our wood chips vs. chunks guide covers burn rates, smoke duration, and platform-specific recommendations.

Premium BBQ Wood for Ribs
Apple, cherry, hickory & pecan — the four best woods for 3-2-1 pork ribs.
Shop BBQ Wood on Amazon →3-2-1 Variations, Adjustments & Alternate Methods
The 3-2-1 is a framework, not a law. Once you understand the purpose of each phase, you can adjust the timing and technique to match your equipment, your preferred rib texture, and your cooking goals.
2-2-1 for Baby Back Ribs
As noted earlier, full 3-2-1 timing overcooks the leaner, thinner baby back ribs into mush. Use a 2-2-1 ratio: 2 hours smoke, 2 hours wrap, 1 hour sauce. Total time is 5 hours versus 6 for spare ribs. All other technique elements remain identical. See our full baby back ribs recipe for the complete adjusted protocol.
3-2-1 at 250°F (The Speed Version)
Raising the temperature to 250°F across all three phases reduces total cook time by roughly 45–60 minutes. The trade-off is slightly less smoke absorption during Phase 1 (shorter exposure time at the lower-temp smoke-producing stage) and less precise texture control during Phase 2. For experienced cooks who have already perfected the technique at 225°F, 250°F is a practical weekend shortcut. For first-time cooks, stay at 225°F until you know how your ribs behave.
No-Wrap (Texas Style)
Some pitmasters refuse the foil entirely, arguing that wrapping steams away the bark and compromises smoke flavor. The no-wrap approach runs ribs at 225–250°F for the entire cook (typically 5–6 hours for spare ribs) with spritzing every 45 minutes to manage moisture. The result has firmer texture, chewier bite, and more aggressive bark — a deliberately different style rather than a lesser one. No-wrap is harder to time precisely without experience, because you lose the reliable Phase 2 texture progression as a checkpoint.
3-2-1 on a Kettle Grill
Using a snake or minion charcoal arrangement in a Weber kettle with a smoke box or wood chunks placed on the coals, 3-2-1 ribs on a charcoal grill are absolutely achievable. The challenge is temperature stability — you need to check and adjust airflow vents every 45–60 minutes to maintain 225°F. Our charcoal grill temperature control guide is essential reading before attempting this on a kettle for the first time.
3-2-1 on a Gas Grill
Set up a two-zone configuration: only one burner running on the lowest setting, with ribs on the opposite (off) side. Add a smoke box filled with pre-soaked wood chips over the lit burner. Maintain 225–250°F with the lid closed. Gas grills lose heat faster when the lid opens, so minimize spritz intervals to every 60 minutes. Smoke flavor won’t match a dedicated smoker, but it’s a workable technique for what you have. For tips on how to prevent flare-ups during this setup, our gas grill flare-up prevention guide covers the technique.
Flavor Variations
Sweet & Sticky Style
- Rub: heavy on brown sugar + smoked paprika
- Wrap liquid: apple juice + maple syrup + extra butter
- Sauce: Kansas City style (thick, sweet, tomato-base)
- Wood: apple or cherry
Spicy Texas Style
- Rub: coarse black pepper dominant, cayenne, garlic
- Wrap liquid: beef broth + ACV + hot sauce
- Sauce: thin Texas-style or no sauce
- Wood: post oak or hickory
Troubleshooting: When Your 3-2-1 Ribs Don’t Turn Out Right
Even experienced pitmasters have cooks that don’t go as planned. Here’s a diagnostic guide for the most common 3-2-1 problems:
| Problem | Likely Cause | Fix |
|---|---|---|
| Ribs are too mushy / fall off the bone | Over-wrapped (Phase 2 too long or temp too high) | Reduce Phase 2 to 90 min; verify smoker temp at 225°F |
| Ribs are tough / not tender | Undercooked; Phase 2 too short; temp too low | Add 30 min to Phase 2; check smoker calibration |
| No bark / pale surface | Too much moisture; spritzed too frequently; low sugar in rub | Reduce spritz frequency; add more sugar to rub |
| Bitter / acrid smoke flavor | Thick white smoke (dirty fire); too much mesquite | Establish clean blue smoke before adding meat; switch wood |
| Dry ribs | Foil wrap leaked; not enough liquid in wrap; overcooked Phase 3 | Double-wrap with no gaps; increase wrap liquid; reduce Phase 3 to 45 min |
| Sauce burning / charring in Phase 3 | Temperature spike above 275°F; sauce too thick with excess sugar | Check temp; thin sauce with ACV before applying |
| Ribs sticking to foil | Not enough liquid in wrap; foil too tight | Add more apple juice; spray foil lightly with cooking spray before wrapping |
| Weak smoke ring | Pellet grill with no Super Smoke; too-high Phase 1 temp | Start at lowest smoke setting for first 60 min; choose smokier wood |
Temperature fluctuations are the root cause of many 3-2-1 problems. If your smoker isn’t holding 225°F reliably, our diagnostics on why grills don’t reach or hold temperature covers fuel, airflow, and structural factors across all grill types. For pellet grill-specific issues, common problems with specific brands are covered in our guides on Traeger running too hot and Camp Chef not reaching temperature.
Complete 3-2-1 Ribs Recipe
🔥 Classic 3-2-1 Smoked Spare Ribs
Ingredients
- 1–2 racks spare ribs (3–4 lbs each)
- 3 tbsp yellow mustard (binder)
- 4 tbsp dry rub of choice
- Apple juice (for spritz)
- 3 tbsp unsalted butter (per rack)
- 3 tbsp brown sugar (per rack)
- 2 tbsp honey (per rack)
- 3 tbsp apple juice or ACV (wrap)
- ½ cup BBQ sauce (per rack)
- Heavy-duty aluminum foil
Method
- Prep: Remove membrane from bone side. Trim fat over 1/4 inch. Apply mustard binder. Press rub onto all surfaces. Rest 30 min at room temp.
- Preheat smoker to 225°F. Establish clean thin blue smoke.
- Phase 1 — Smoke (3 hrs): Place ribs bone-side down. Spritz with apple juice every 45 min. Do not foil.
- Phase 2 — Wrap (2 hrs): Remove ribs. Place meat-side down on foil with butter, brown sugar, honey, and apple juice. Seal tightly. Return to smoker at 225°F for 2 hours.
- Phase 3 — Sauce (1 hr): Remove from foil. Place meat-side up on grate. Apply thin coat of BBQ sauce. Cook uncovered at 225°F for 1 hour. Re-sauce at 30 min mark.
- Rest: Remove from smoker. Tent with foil. Rest 10–15 minutes.
- Slice: Cut between bones with sharp knife in single downward strokes. Serve immediately.
To build out your full rib meal, try serving alongside our smoked mac and cheese (it can cook right alongside your ribs at 225°F), BBQ grilled corn, or a cold-smoked cheese board using techniques from our cold smoke cheese guide. And if the rib cook sparks an interest in other long smokes, our smoked pulled pork, smoked beef short ribs, and smoked pork belly burnt ends are natural next steps in your smoked meat repertoire.

Top-Rated BBQ Sauces for Ribs
Kansas City sweet, Texas heat, Carolina tang — find the right sauce for your 3-2-1 finish.
Shop BBQ Sauces on Amazon →Frequently Asked Questions
The most common questions we receive about the 3-2-1 rib method, answered from real cook experience.
Conclusion: Your First 3-2-1 Cook Starts Right Now
There’s a reason the 3-2-1 method has become the most-taught rib technique in backyard BBQ. It works. Not occasionally, not under ideal conditions, but reliably and repeatedly for home cooks of every experience level — because it breaks a six-hour cook into three predictable phases, each with clear visual and tactile checkpoints that tell you exactly where you are and what to do next.
Your first 3-2-1 cook will almost certainly produce better ribs than anything you’ve made before. Your fifth cook will be noticeably better than your first. By the tenth, you’ll have developed a feel for your specific smoker, your preferred wood, your favorite wrap mixture, and your ideal texture — and you’ll start making the method your own.
Start with a rack of St. Louis cut spare ribs, a generous coat of your favorite dry rub, and a bag of apple or cherry wood. Set your smoker to 225°F, follow the phases, trust the process, and serve something that will make your guests ask you to do it again next weekend.
When you’re ready to expand your smoking repertoire, our smoked pulled pork, beef short ribs, and smoked whole chicken guides are all designed with the same level of technique depth. And if you’re still deciding which smoker to cook your 3-2-1 ribs on, our best barbecue smokers guide and pellet grill vs. charcoal grill comparison will help you find the right platform for your cooking style and budget.
Now go light your smoker.

Everything You Need for 3-2-1 Ribs
Pellet grills · rubs · sauces · probe thermometers · rib racks — all on Amazon Prime with fast shipping.
Shop All BBQ Supplies on Amazon →Disclosure: BBQ Grill & Smoker is reader-supported. Purchases made through our Amazon links (tag: jhllc-20) earn us a small commission at no additional cost to you. All technique recommendations and product opinions are based on our own independent testing and experience.